Documentation and Internet Presentation of Cultural
Heritage Using Panoramic Image Technology
[
Methods |
Segmented Panoramas |
Stitching |
Publication |
References ]
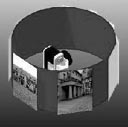
2 Segmented Panorama Photography
The most precise panorama consists of evenly-spaced photos using a tripod. A special panoramic head, assures that the camera rotates on a level plane around the center of the lens. The overlapping area should be 20% -50%. Using the portrait format increases the number of photos but extends the vertical field of view. The number of photos depends on the focal length of the lens, the film format and the distance to the object. A number of 12 photos using a wide angle lens of 35 mm in portrait format can be sufficient for outdoor scenes. All shots should be taken with autoexposure off. Avoid shooting into the sun. Best conditions are given when it is cloudy and bright at mid-day.
The camera is mounted on a panoramic head correctly if there is no parallax to detect. The setting can be controlled if a close object with a faraway object aligns while rotating the camera from side to side. There should be no relative movement between the two objects. Otherwise the camera has to be adjusted in order to eliminate this movement. The figure shows the principle of a panoramic tripod head and a solution supplied by Kaidan.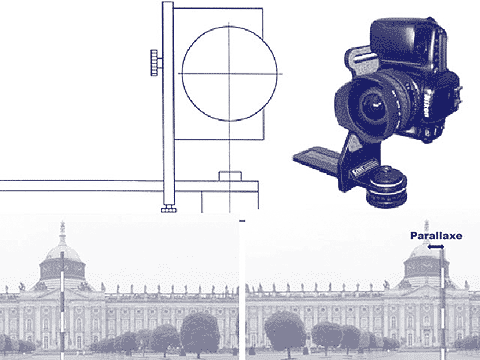
The above described procedure for taking panoramas can be performed in the same way in the virtual world of a CAD system. Define a camera point and a target point on a separate camera layer in your drawing editor, copy the line in a circular order and transfer the data to the camera specification. Switch the camera layer of and begin rendering a sequence of images. The direction of sunlight can be moved with the viewing direction. The example presented in chapter 4 is a reconstruction of an ancient castle with estimated construction state around 1500 is done with AutoCAD using AccuRender for rendering. The single images are stitched together with PhotoVista.